Sony Bravia Red Light Blinking Codes Explained: What 2, 4 & 6 Blinks Mean
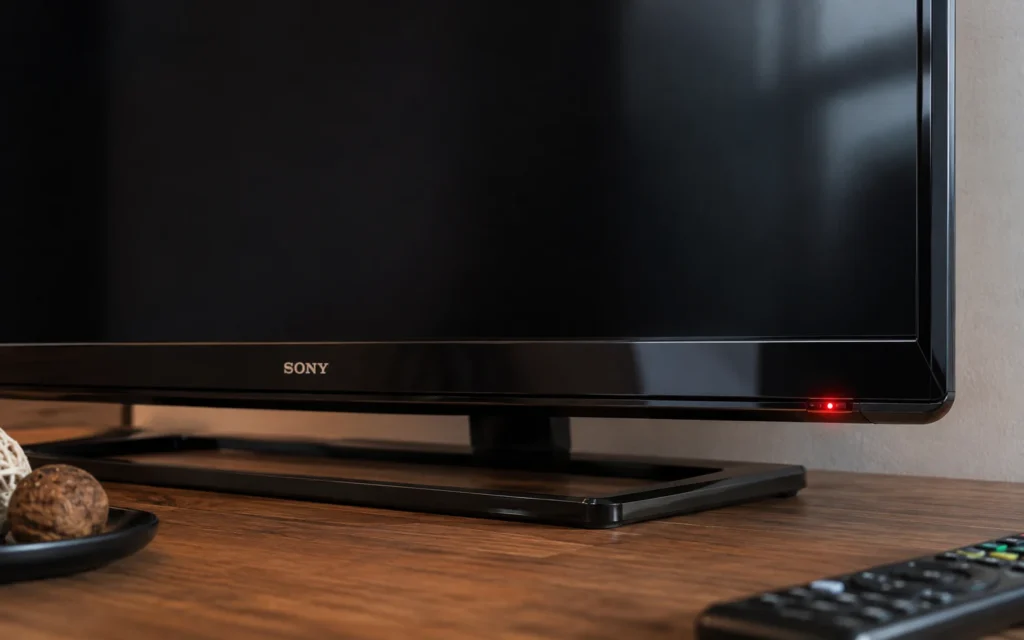
Sony Bravia Red Light Blinking Codes Explained: What 2, 4 & 6 Blinks Mean If your Sony Bravia TV is blinking a red light and the screen is not turning on, the blinking pattern can be an important diagnostic clue. Sony describes repeated red LED blinking as an indication that the TV has detected an issue, and the number of flashes can vary by model. For Hyderabad TV owners, the important point is this: do not assume that every Sony TV uses exactly the same blink-code meaning. Sony’s official guidance says the number of flashes and their meaning can vary by model. So, the safest way to diagnose the problem is to record the blink count and identify the exact TV model before replacing any board or component. If your Sony Bravia is showing 2, 4 or 6 red blinks, this guide explains what the pattern can indicate, what you can safely check at home, and when professional Sony TV repair Hyderabad is the better option. What Does a Red Blinking Light Mean on a Sony Bravia TV? A repeated red standby-light pattern generally means the TV has detected an abnormal condition. Sony’s support documentation states that red LED blinking on supported models can indicate an issue requiring service. Sony also recommends counting the flashes between pauses because the number is useful when contacting support. For example: 2 blinks → pause → 2 blinks → pause → repeat is different from: 6 blinks → pause → 6 blinks → pause → repeat The pattern should be counted carefully. First, check these things Before assuming that a board has failed: Turn the TV off. Disconnect the AC power. Disconnect external devices such as HDMI devices, USB devices and set-top boxes. Leave the TV disconnected for a short period. Connect it directly to a wall outlet. Try powering it on again. If the red light continues blinking, count the flashes between pauses. Sony’s current troubleshooting guidance also recommends disconnecting connected devices and performing a power reset when the red LED continues blinking. Sony TV 2 Red Blinks: What Does It Mean? A 2-blink code is not a universal diagnosis for every Sony Bravia model. Older Sony service information and repair cases associate particular two-blink patterns with power-related faults, but the exact circuit involved depends on the TV chassis and model. For example, Sony community documentation for a specific older BRAVIA model describes two blinks as a power-related protection condition. Possible areas that a technician may investigate include: Power supply section DC voltage rails Protection circuits Main-board power circuitry A component causing excessive current or abnormal voltage What should you do? Don’t immediately order a replacement power board based only on “2 blinks.” A technician should first identify: Exact Sony model number Chassis/platform Blink pattern Whether the TV attempts to start Whether sound is present Whether the screen flashes briefly Power-supply output conditions This prevents replacing an expensive board when another component is actually responsible. Sony TV 4 Red Blinks: What Does It Mean? Four red blinks can also indicate an internal fault, but the exact meaning varies by Sony model. This is one of the reasons generic online blink-code tables can be misleading. A repair case involving a particular Sony Bravia model associated four blinks with an internal hardware problem, while other Sony chassis can use different diagnostic mappings. Depending on the model, a technician may need to investigate areas such as: Power supply Main board Protection circuitry Backlight-related circuits Temperature or other monitoring circuits So if your Sony Bravia shows: 4 red blinks → pause → 4 red blinks don’t assume that the backlight is automatically defective. The model number matters. Sony TV 6 Red Blinks: Is the Backlight Faulty? Six red blinks are frequently associated with backlight-related problems on certain Sony TV models, but this should still be treated as a model-specific diagnostic clue rather than a universal Sony code. For example, repair documentation for some Sony Bravia models associates six blinks with a backlight error. A technician may therefore inspect: LED backlight strips LED driver circuit Backlight power supply LED connections Protection circuitry However, simply seeing six blinks does not prove that every LED strip in the television needs replacement. Proper diagnosis is important because the same symptom can involve different components depending on the TV model. Sony Bravia Blink Codes Are Model Specific This is the most important part of diagnosing a Sony TV. You may find online charts saying: Red Blinks Possible Problem 2 Power-related fault 4 Internal hardware/protection fault 6 Backlight-related fault These can be useful as general diagnostic clues, but they should not be treated as a universal Sony code chart. Sony itself states that red-light blink counts can vary by model, with supported TVs potentially showing different numbers of flashes. Some Sony help guides simply instruct owners to count the red flashes and provide that number to Sony support rather than assigning one universal meaning to every model. That’s why we recommend giving the technician: Sony model number + number of red blinks + symptom For example: Sony KD-55XXXX — 6 red blinks — no picture. That information can significantly narrow the diagnostic process. What If My Sony TV Is Blinking but It Is Updating? Not every blinking light means hardware failure. Sony notes that some newer TVs can blink their status LED during software updates. During an automatic update, the TV may temporarily remain off or fail to respond normally while the update is being installed. Therefore, if the TV has recently started an update, don’t immediately disconnect the power repeatedly. However, if the red light continues in a repeated error pattern and the TV does not recover, further troubleshooting may be required. Sony TV Red Light Blinking but No Picture If the red light is blinking and the screen remains completely black, check the following: 1. Check the power connection Make sure the power cable is properly connected and the wall outlet is working. 2. Disconnect external devices Remove: HDMI devices